Mini Pumpkins Become Fall Planters with Simple Hole
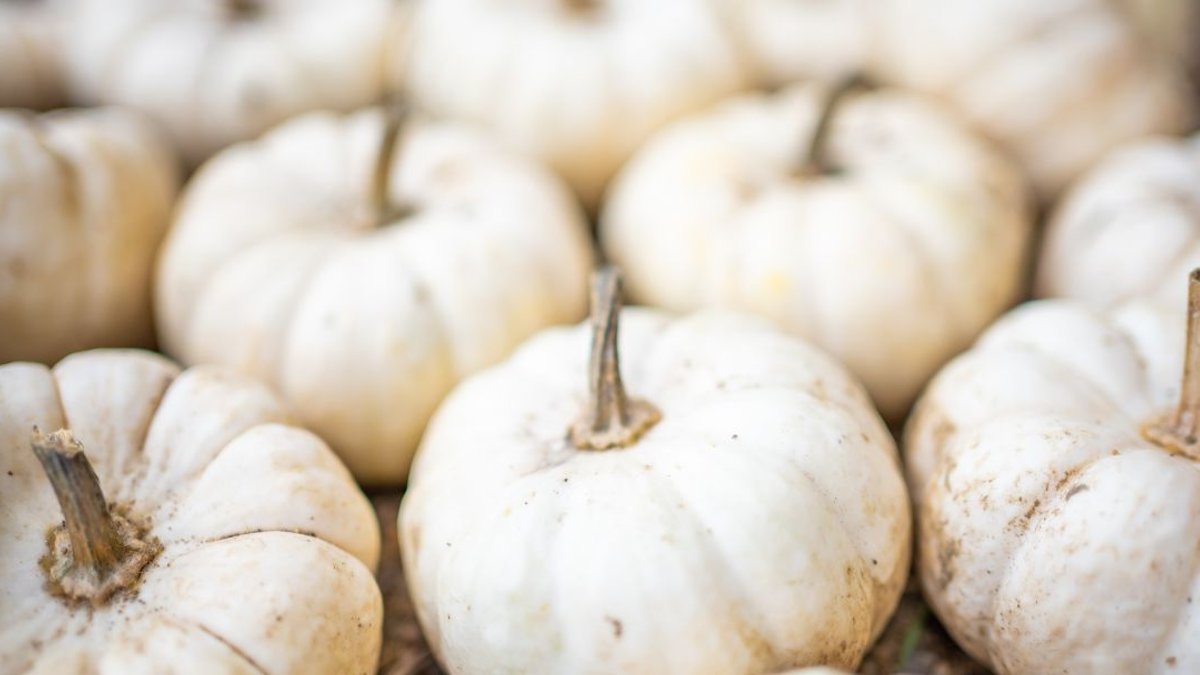
Miniature pumpkins are often displayed painted, carved, or left whole on autumn tables, yet the cavity left by the stem can serve a different purpose. By cutting a modest aperture, the fruit can accommodate a succulent, functioning as a planter-like centerpiece while preserving most of its crown.
Preparing the Pumpkin
Start the modification at the stem rather than slicing across the top. Homedit’s Brittney Smart combined white mini pumpkins with gray-green artificial succulents, highlighting the contrast between the pumpkin’s ribbed surface and the plant’s thick foliage. Using faux stems also allows the greenery to be removed later and reused in another display.
The dimension of the opening matters more than achieving a perfectly round cut, because the succulent must have enough support to rest against the interior wall instead of disappearing inside. Smaller pumpkins keep the plant close to the surface, whereas larger ones require a broader opening that follows the leaf spread.
First, outline the zone near the existing stem that will become the opening. Drill a pilot hole through the firm outer skin, placing it beside the stem while ensuring the aperture remains at the highest point when the pumpkin rests flat. The drill’s purpose is only to create an entry point for the knife; the full cut is made with the blade.
Read Also: Woman turns cut oak logs into rustic backyard seating
Insert a sharp serrated knife into the pilot hole and cut around the stem, shaping the opening to match the succulent’s size. Smart advises removing roughly 1 to 1½ inches of the top rather than cutting away a large lid. Beginning at the pilot hole gives the blade a foothold and lets the cut follow the pumpkin’s natural contour.
Fitting the Succulent
Lift away the cut piece, then scoop out the seeds and soft tissue until the opening leads into the hollow interior. A spoon can assist in clearing material that clings to the inner walls. Because the project uses an artificial plant, the pumpkin does not need to function as a full-size pot; the aim is simply to provide enough space for the stem.
Measure the artificial stem against the depth of the opening before trimming it with wire cutters or tin snips. Leaving sufficient length enables the plant to anchor inside without forcing the leaves against the pumpkin’s side. Flexible faux stems can also be bent when the interior space permits excess length.
Insert the shortened stem into the center until the lower leaves meet the pumpkin’s surface. On a small fruit, the succulent can cover most of the opening while the white ribs remain visible around the edges. A snug fit also hides the cut edge, making the foliage appear to grow directly from the pumpkin.
Read Also: Robot vacuum’s hair buildup reveals hidden maintenance issue
When a compact pumpkin is paired with a broad-leaf succulent, the plant dominates the top, creating the impression of a botanical topper rather than a conventional flowerpot.
A second pumpkin with a thicker wall and wider shape calls for a different technique, because the same succulent may look too small if it sits above a narrow hole. Instead of selecting a larger plant, the opening can be enlarged so the succulent settles deeper inside. Cut around the stem while keeping the aperture controlled, using the serrated knife to work around the stem without extending cuts far down the pumpkin.
Follow the pumpkin’s upper contours to preserve most of the shell while freeing the section that must be removed. Several shallow incisions give better control than forcing a single deep cut through the thick rind. Raise the cut piece by the stem, then scoop out the seeds and fibrous material beneath.
Clearing this cavity provides room for the artificial stem to bend or extend below the opening. Because all work stays near the original stem, the exterior of the pumpkin remains largely intact.
Read Also: Dining room gets bold blue makeover
A thicker rind changes the plant’s positioning. Larger mini pumpkins often have enough flesh around the opening to support the succulent above the surface, preventing the leaves from resting directly on the pumpkin. Trim the interior edge where necessary so the plant’s base can sit lower without widening the visible opening across the whole top.
An artificial succulent with a long, flexible stem can be curved to follow the interior rather than being cut short, preserving more of the stem for later reuse. Test the fit before removing additional pumpkin flesh; a minor stem adjustment may be sufficient to lower the leaves into place.
Reusing the Components
When the seasonal display concludes, the artificial succulent can be gently extracted and repurposed in another project. Its flexibility allows it to adapt to new containers or arrangements, extending its usefulness beyond the original pumpkin.


